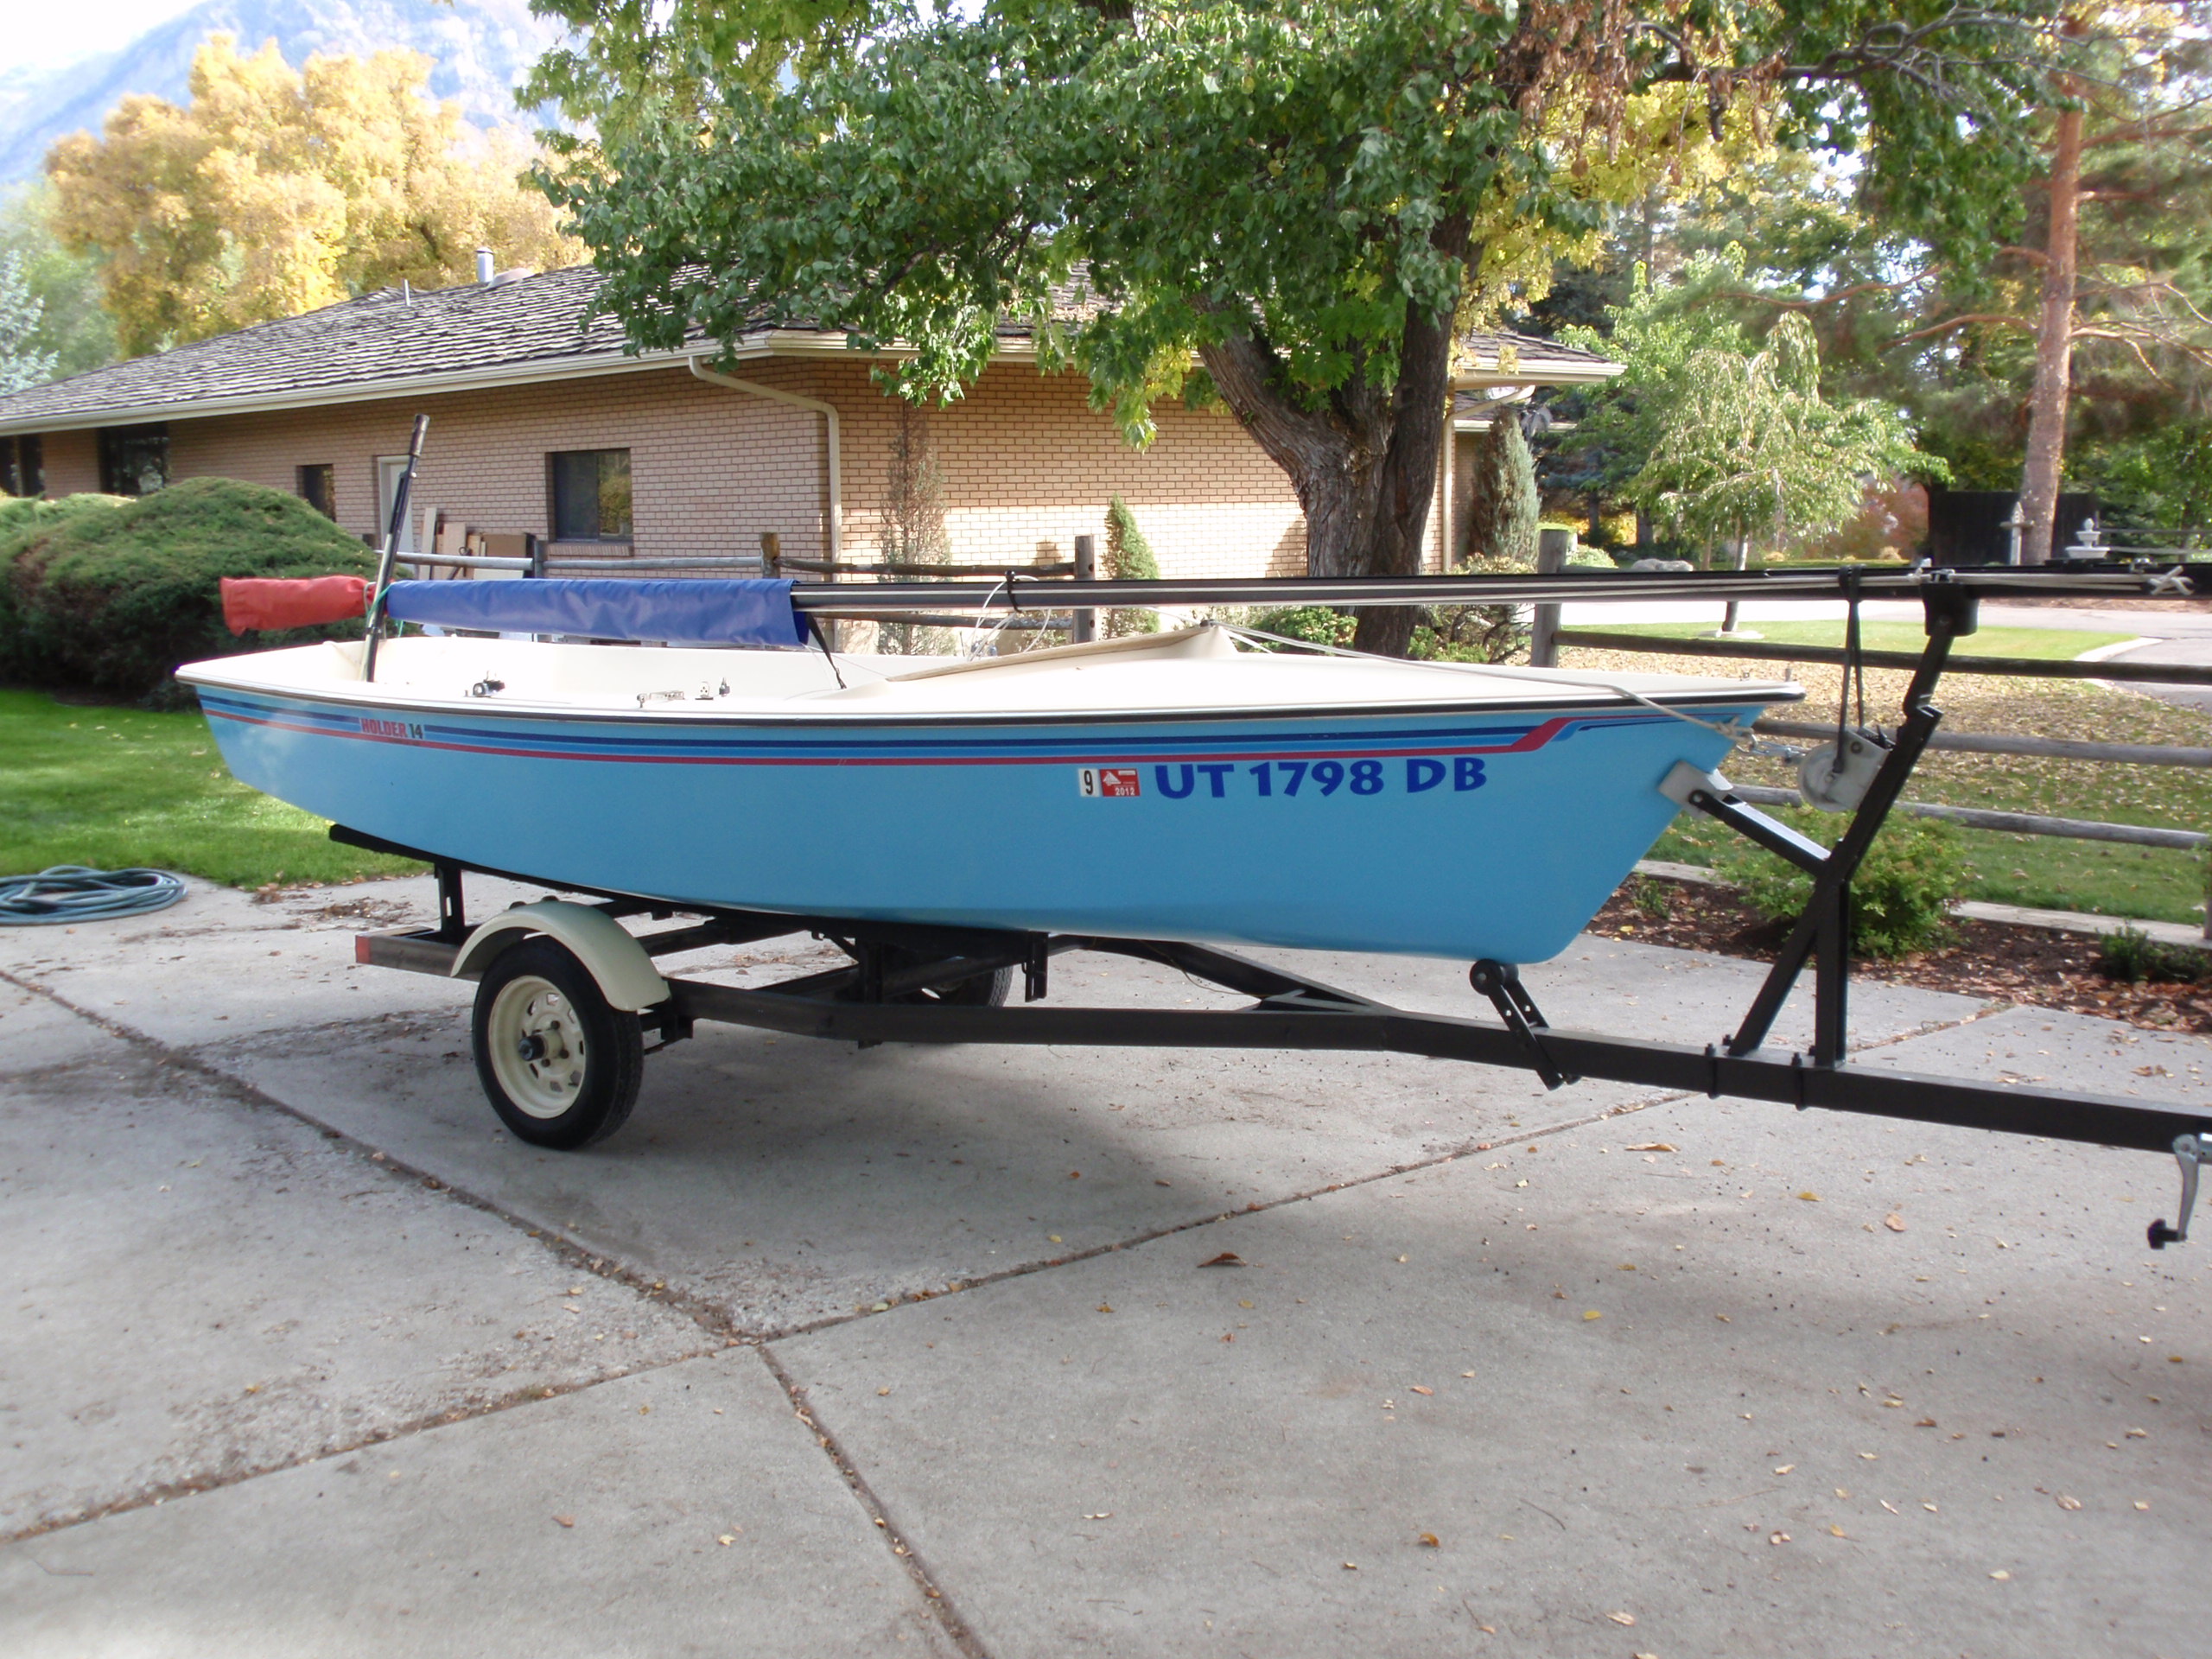
Here it the finished picture of our Hobie Holder Trailer Project. This was after it was all spiffed up.
When we bought our Holder it came with this trailer. It was rusting in several places, the wiring was coming undone and the boat didn’t sit right on the trailer. We did a lot of work on this trailer, but it was a surprisingly easier job then waxing and buffing the hull of the boat. Watch the video below to get a taste of how this trailer looked at the beginning and then I’ll show our step-by-step process of how I turned it into a trailer we are proud to tow.
The Whole Story…
1. First I got a hold of an electric grinder with a wire brush attachment like THIS ONE. This is the wire brush attachment I used.I used it to sand off and clean up the really rusty and messy parts of the trailer.
2. Then I used RUST-OLEUM Hammered in Black Metal Finish. This stuff is great. It hides surface imperfections with no primer needed. I also like that it’s in a spray can making it easy to use and it gives the trailer a nice texture and shiny finish. I highly recommend this.
3. Speaking of painting, for fun I painted the fenders a creamy white color to match out boat. Structurally, this step does nothing as far as trailer repair. Esthetically, I think it finishes the look nicely and ties the boat and trailer together without it being an “outfit”.
4. As mentioned in the video I re-wired the trailer with waterproof LED lights like this one.
5. Then I repacked new bearings with new seals and grease.
6. I put new tires on the trailer along with a spare attachment for the trailer. It’s always nice to have a spare handy, especially if you’re trailering it for long distances.
7. I put new safety chains on. I love the way the look and I feel more secure while trailering the boat.
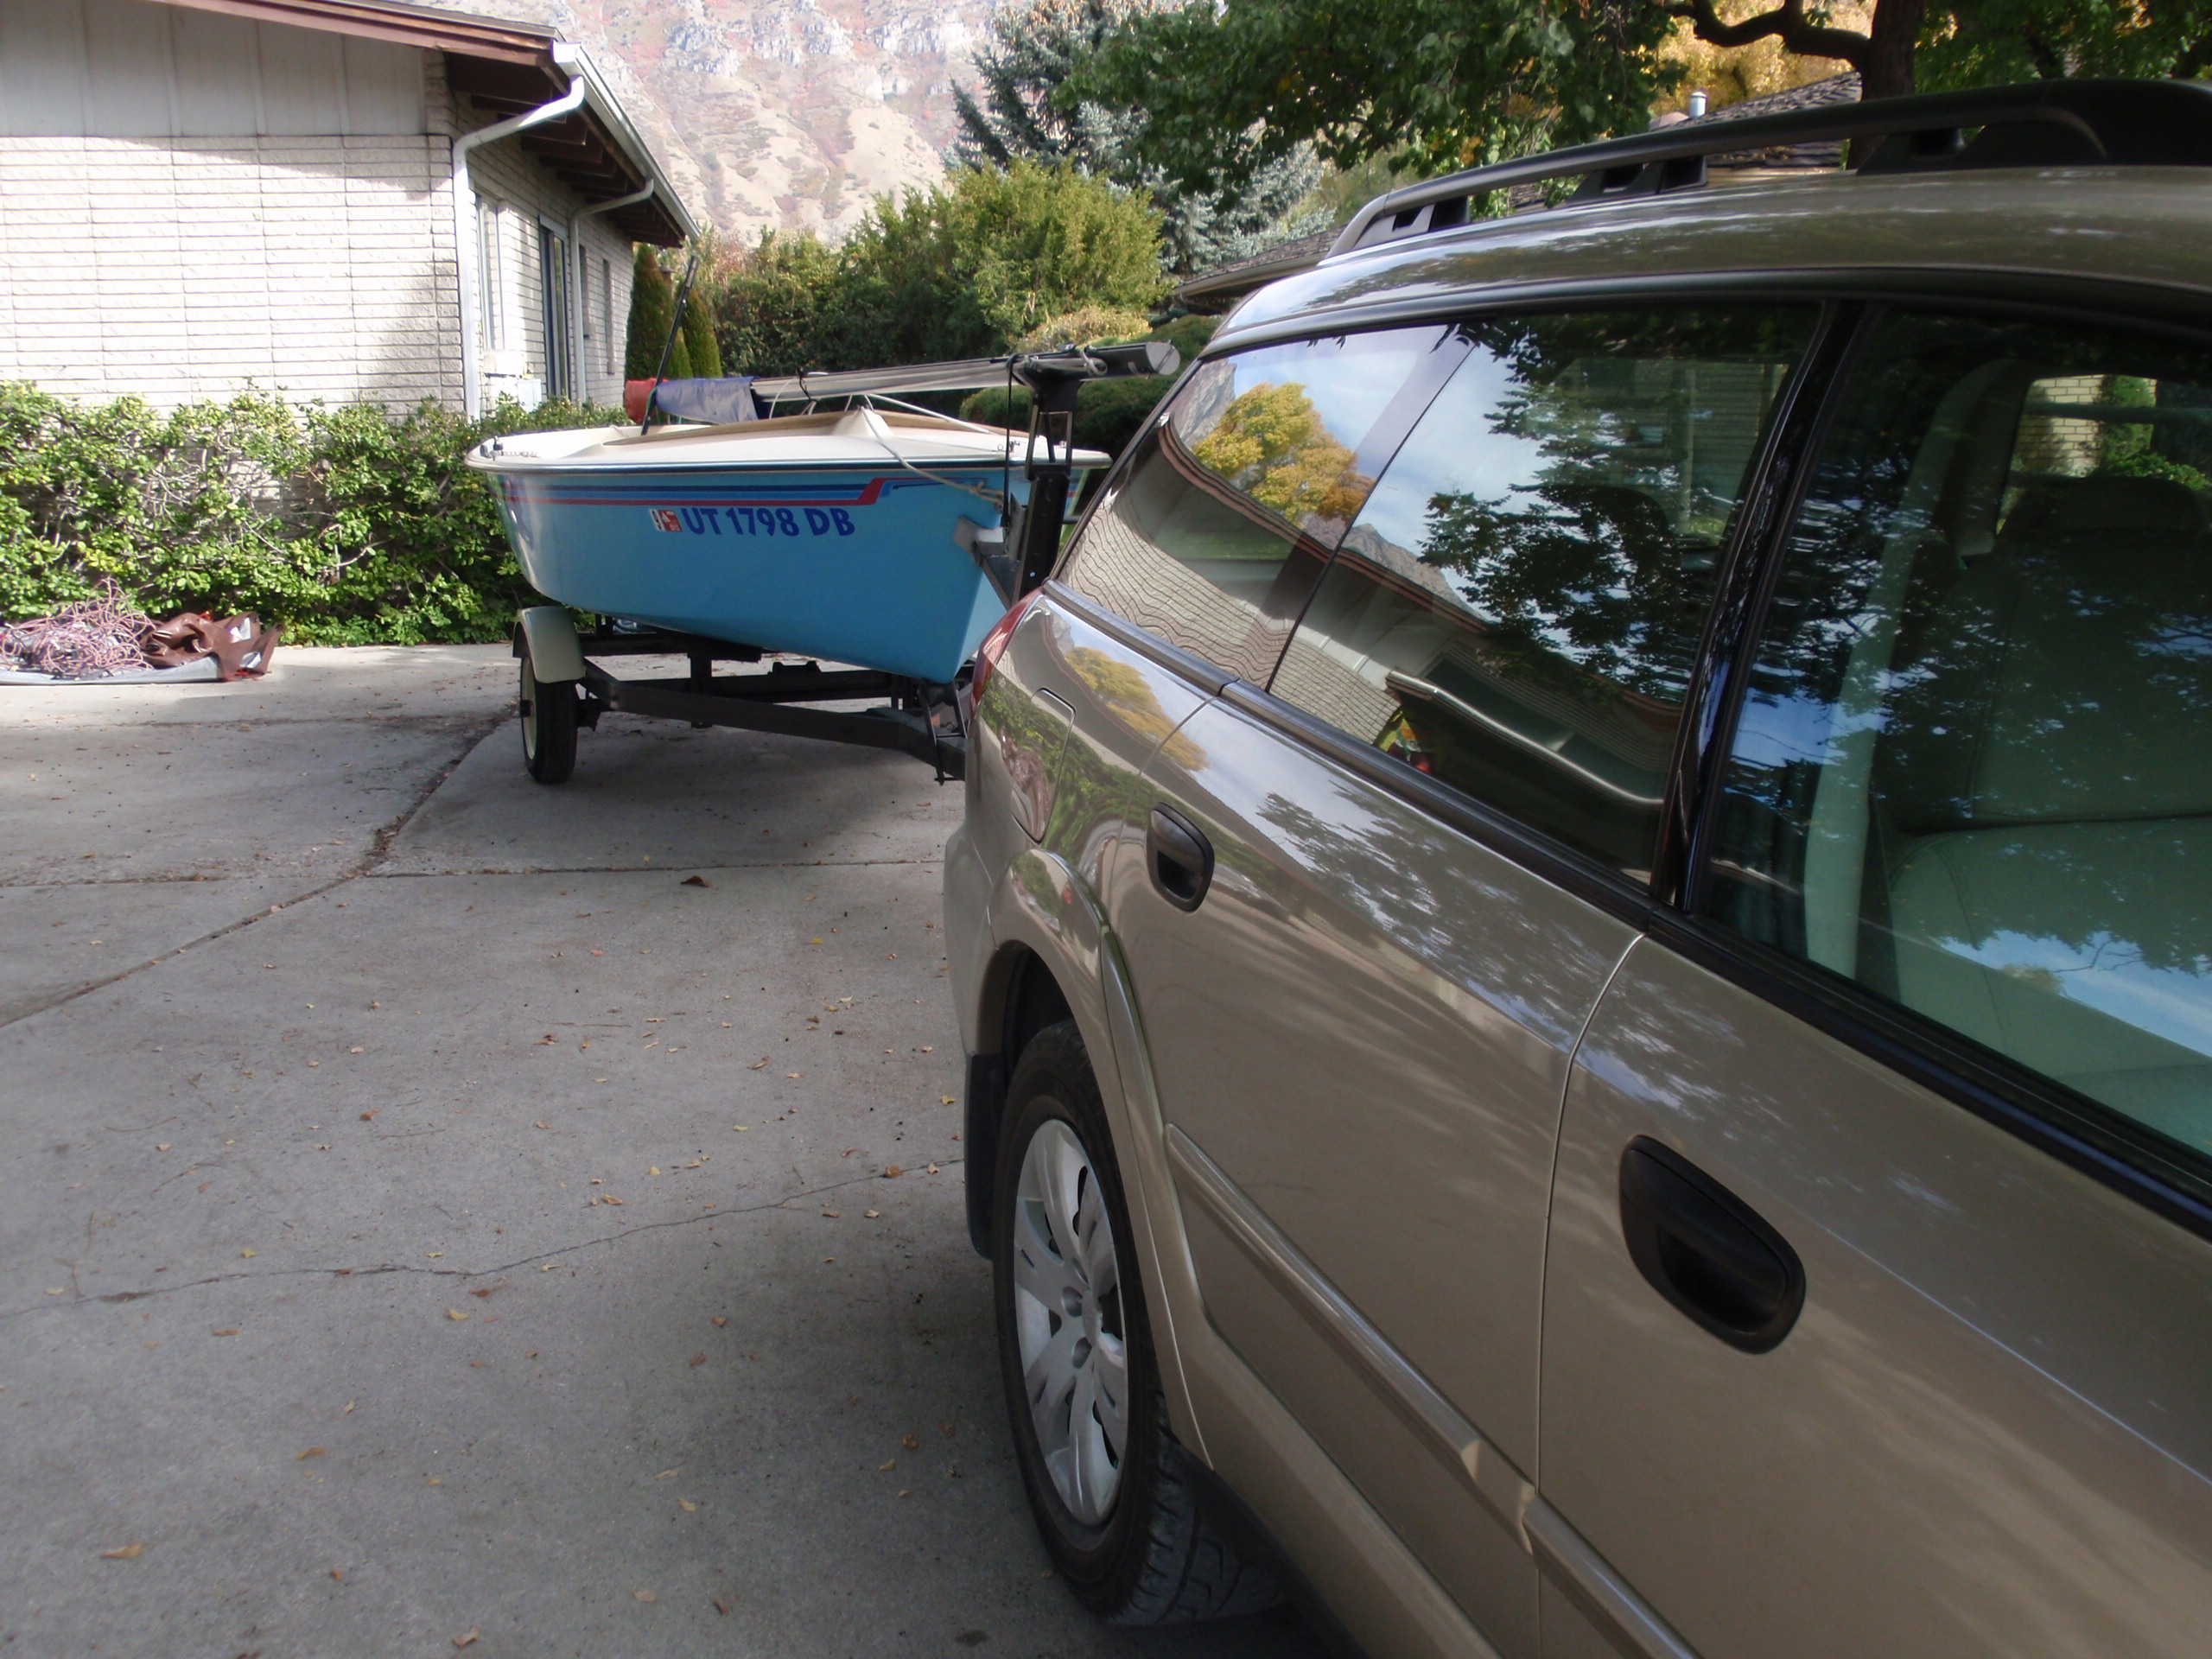
8. Finally I drilled new holes and shifted it forward. I think having the boat sitting forward more, it is better balanced and doesn’t hang off the back.
If you have any questions about any of the above steps don’t hesitate to leave a comment or send me an email. Click on the links below to see our Part I and Part II of our Hobie Holder Series.
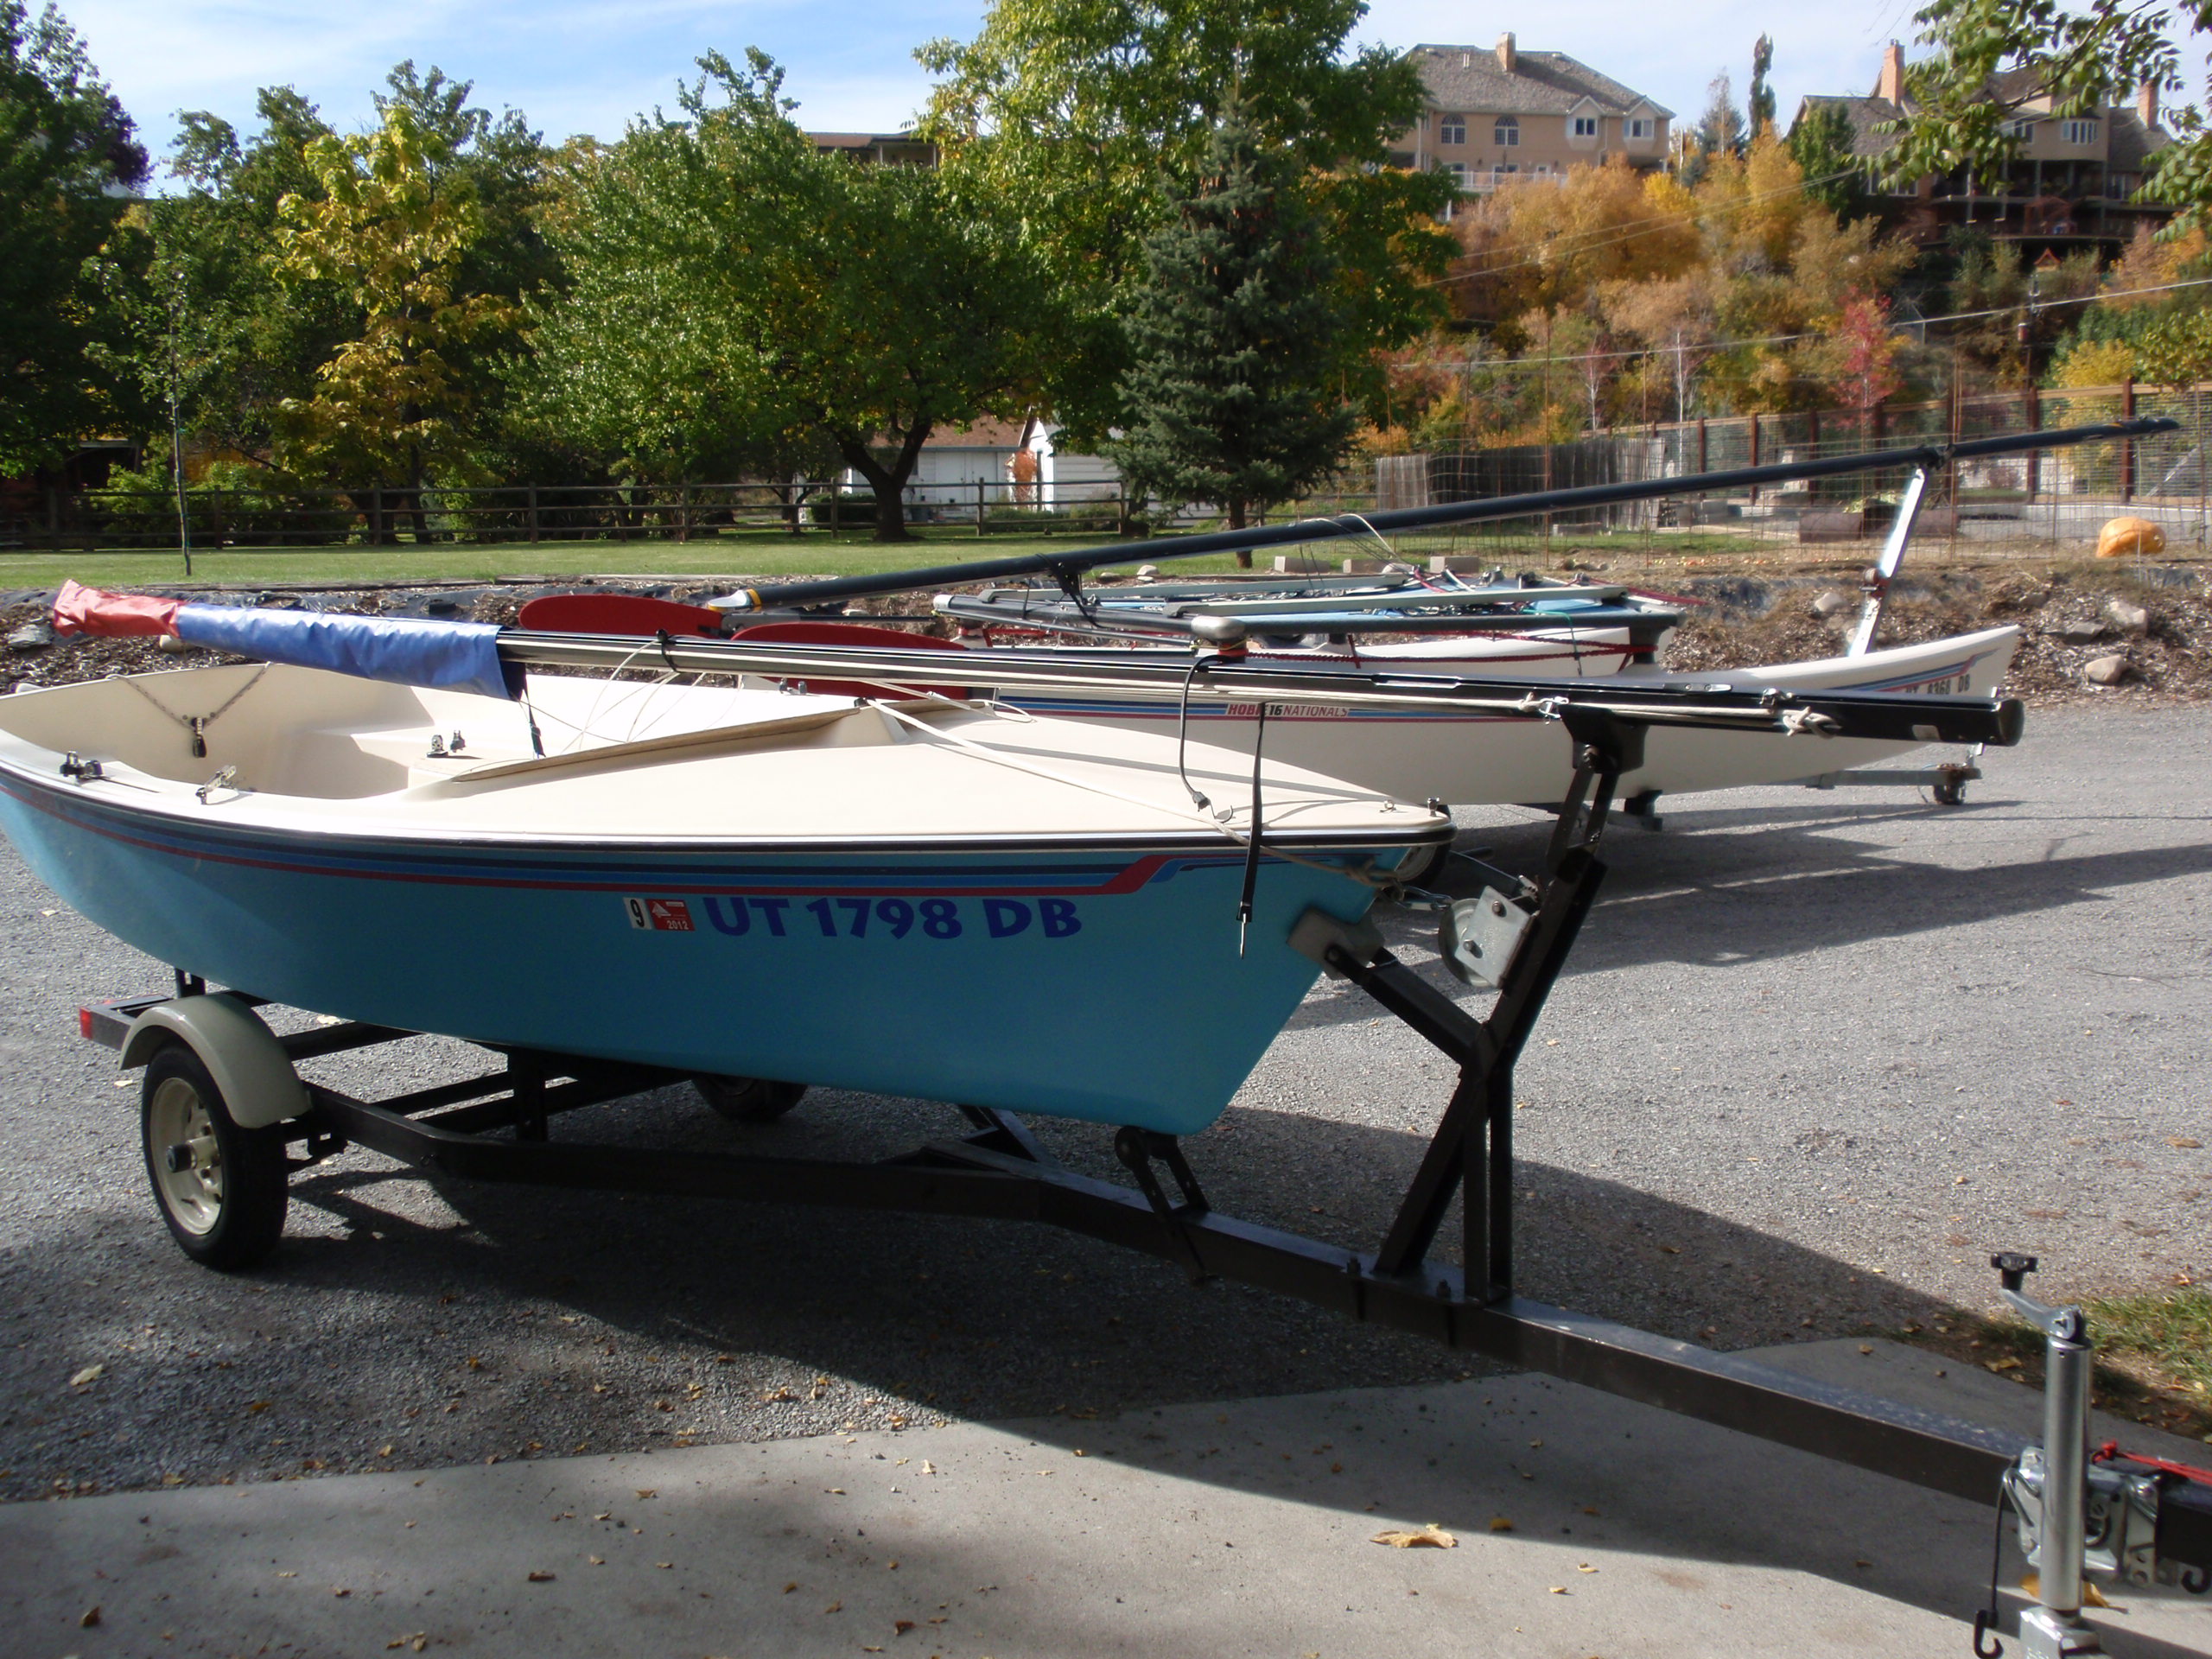
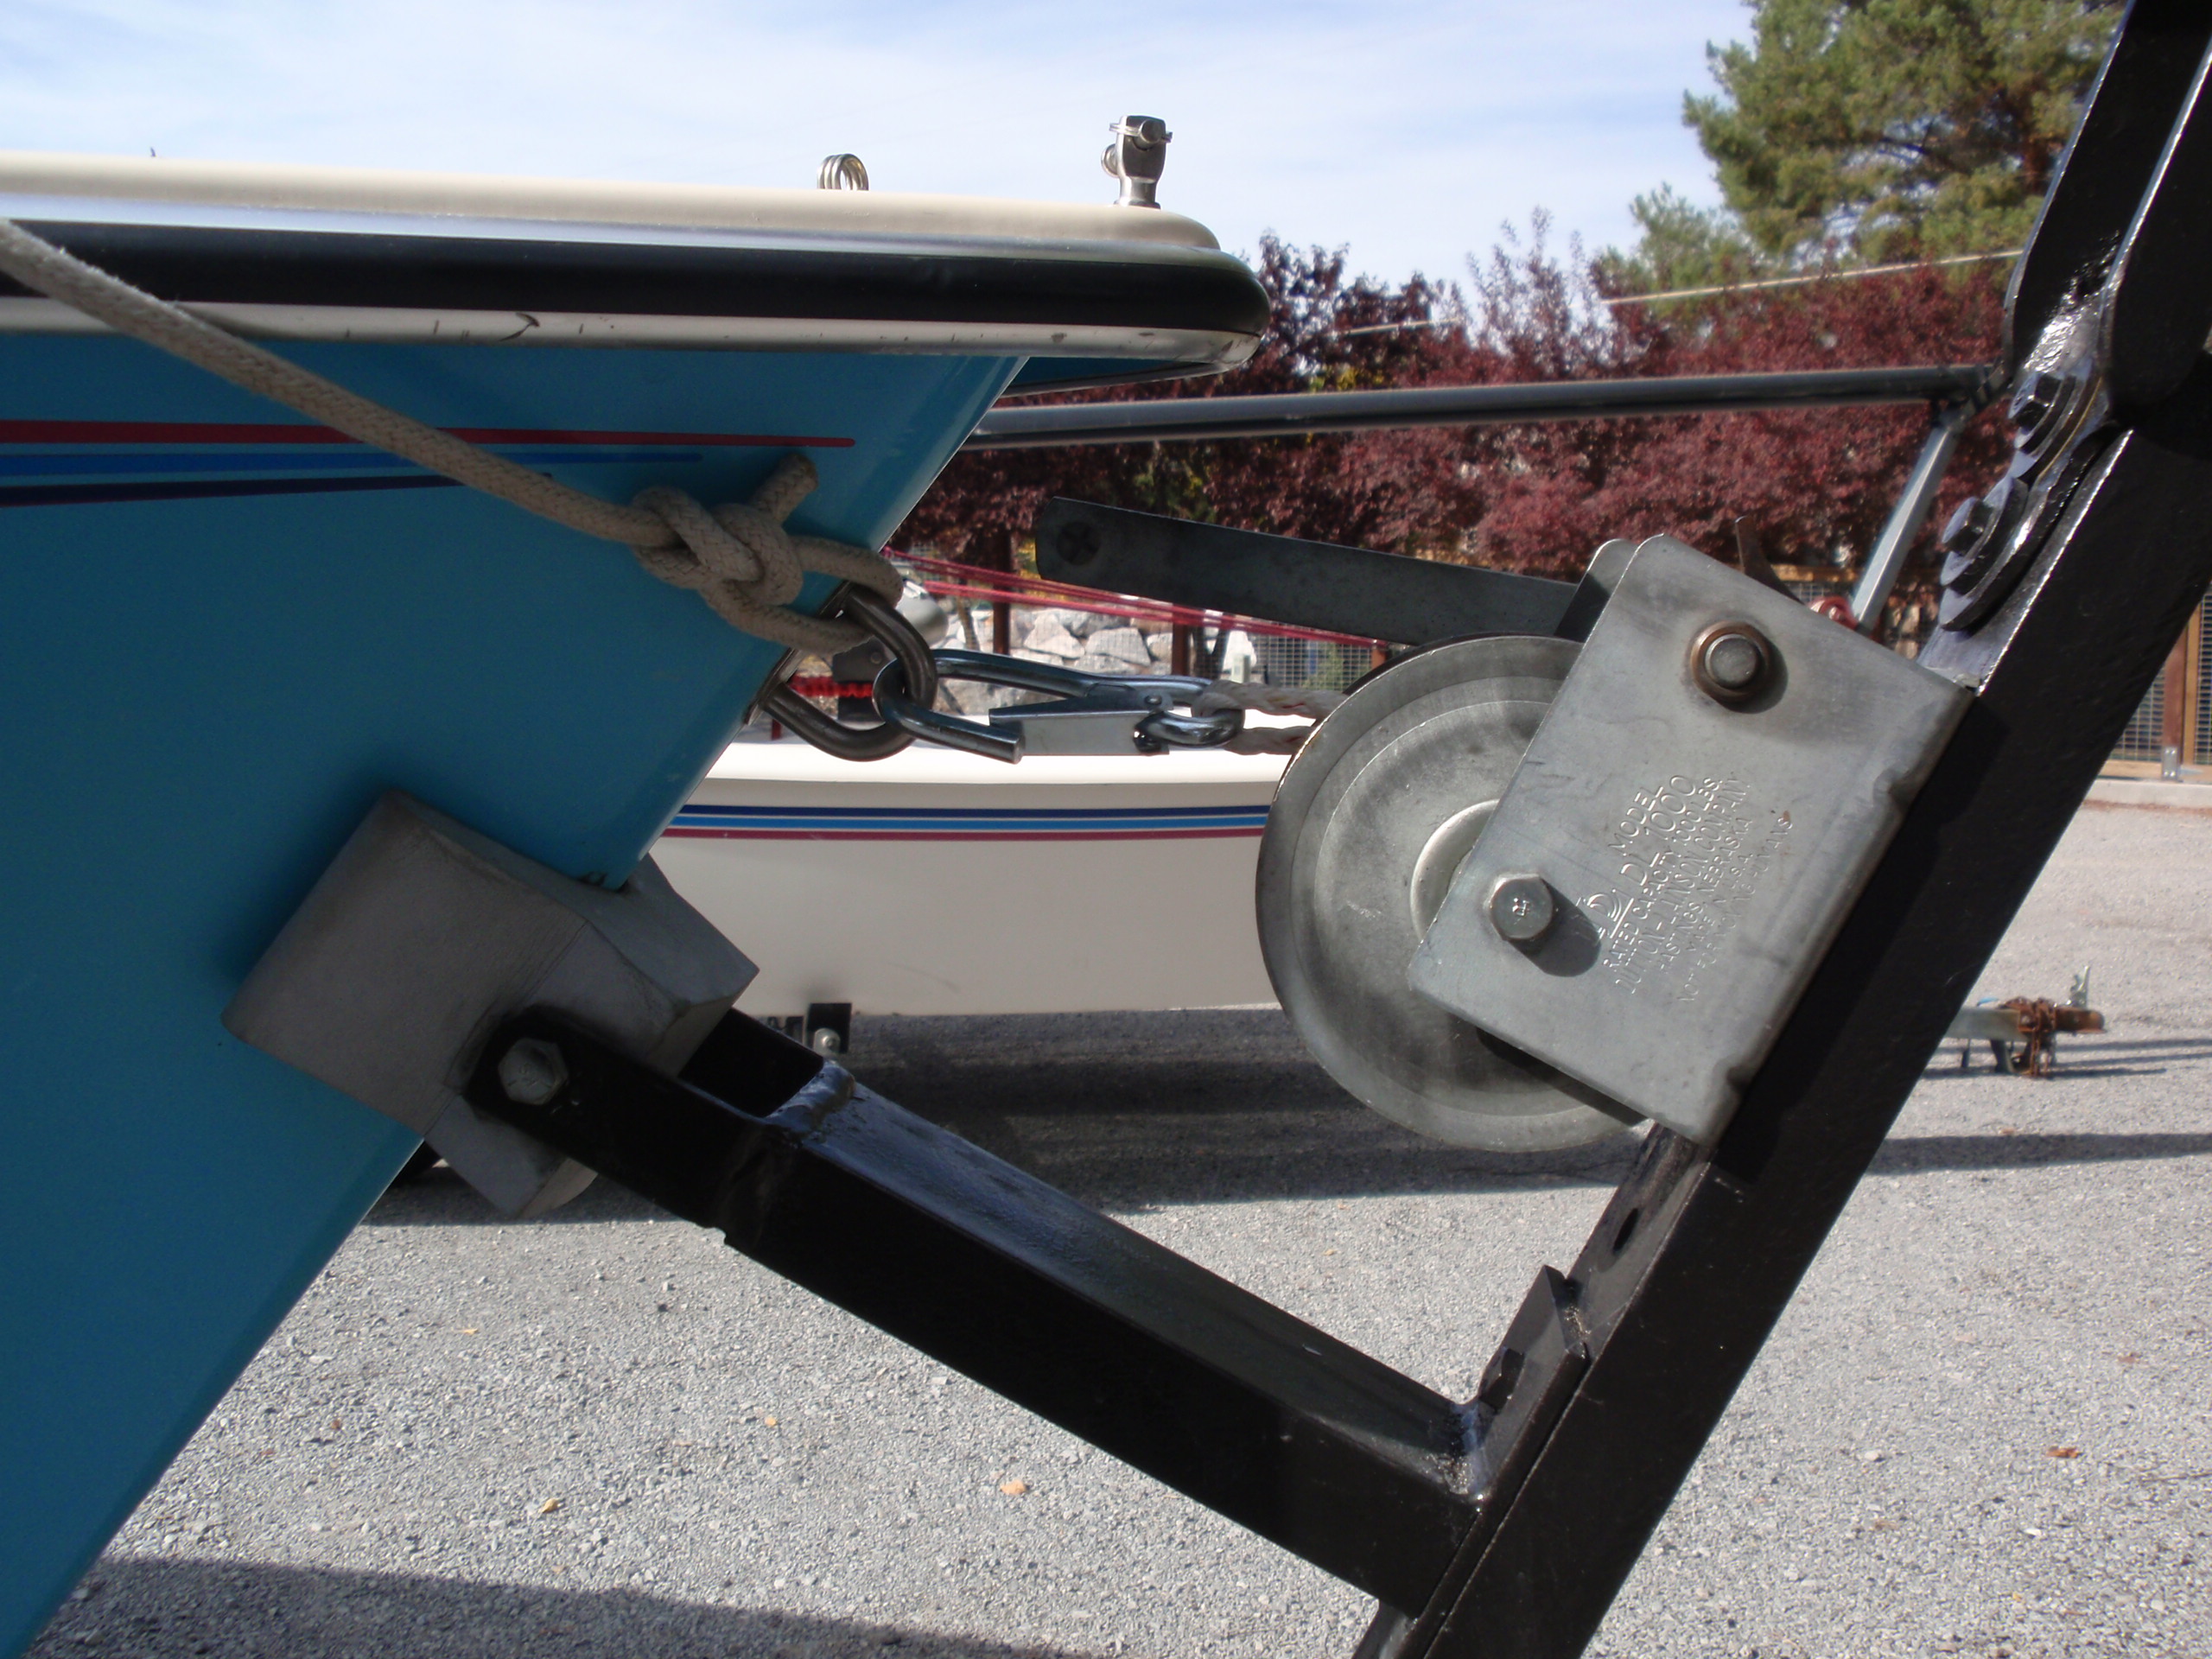
Here are some more photos of the finished product.
Save
No tags for this post.